Linux - USB keys as a Security Key


Based on the following post
The following is a hypothetical guide, and I am looking at it but not implemented.
Please note that pam_usb is no longer maintained but a fork is.
The guide is supposed to be for the forked, maintained version.
Great! Here's a complete step-by-step installation guide for Linux Mint Debian Edition:
Complete Installation Guide for pam_usb on Linux Mint Debian Edition
Step 1: Install Dependencies
Open a terminal and install the required packages:
sudo apt install libxml2-dev libpam0g-dev libudisks2-dev libglib2.0-dev gir1.2-udisks-2.0 python3 python3-gi git
Step 2: Download and Install pam_usb
You have two options:
Option A: Use Pre-built DEB Package (Recommended)
- Visit the APT repository at https://apt.mcdope.org/
- Download the appropriate
.debpackage for your Debian version - Install it with:
sudo dpkg -i libpam-usb_*.deb
Option B: Compile from Source
git clone https://github.com/mcdope/pam_usb.git
cd pam_usb/
make
sudo make install
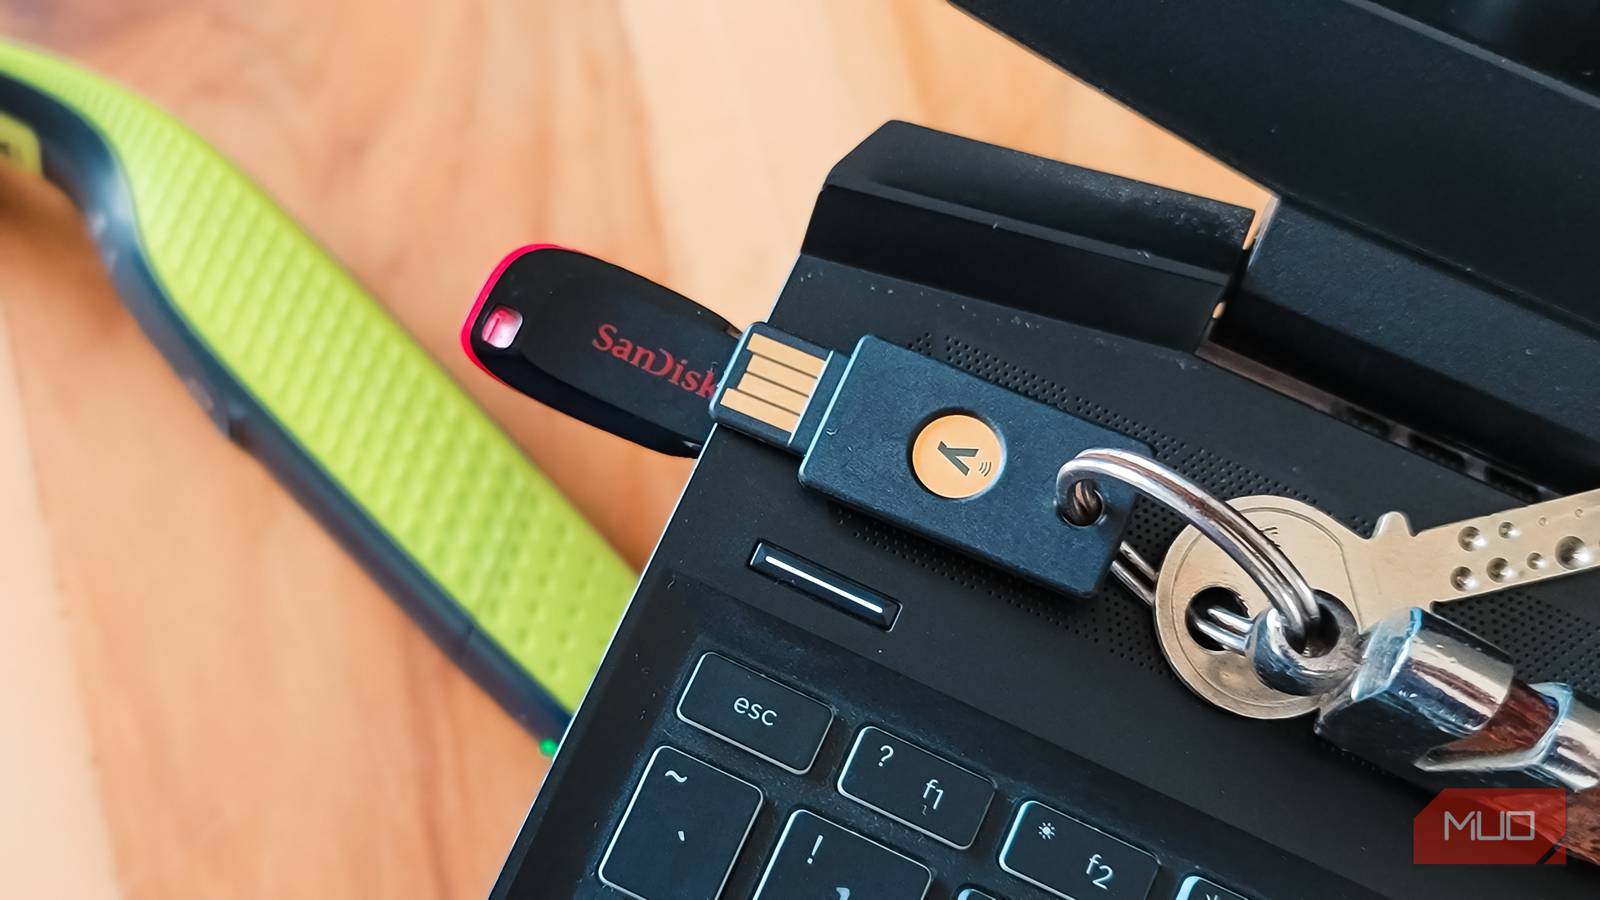
Step 3: Configure Your USB Device
Plug in your USB drive, then add it to the configuration:
sudo pamusb-conf --add-device MyUSBKey
You'll see something like:
Please select the device you wish to add.
* Using "SanDisk Corp. Cruzer (SERIAL123456)" (only option)
Which volume would you like to use for storing data?
* Using "/dev/sdb1 (UUID: 1234-5678)" (only option)

Name: MyUSBKey
Vendor: SanDisk Corp.
Model: Cruzer
Serial: SERIAL123456
Volume UUID: 1234-5678

Save to /etc/security/pam_usb.conf? [Y/n]
Press Y to save.
Step 4: Configure Your User Account
Add your username to the configuration:
sudo pamusb-conf --add-user yourusername
Replace yourusername with your actual username. It will ask you to confirm:
Which device would you like to use for authentication?
* Using "MyUSBKey" (only option)

User: yourusername
Device: MyUSBKey

Save to /etc/security/pam_usb.conf? [Y/n]
Step 5: Test the Configuration
Before modifying PAM, test that everything works:
pamusb-check yourusername
With your USB plugged in, you should see:
* Authentication request for user "yourusername"
* Device "MyUSBKey" is connected (good).
* Performing one time pad verification...
* Access granted.
Step 6: Configure PAM Authentication
⚠️ WARNING: Create a ba.ckup first!
sudo cp /etc/pam.d/common-auth /etc/pam.d/common-auth.backup
If you installed via DEB package: The installer may have already configured this automatically. You can use the safer method:
sudo pam-auth-update
Check the box for "USB authentication" and press OK.
If you compiled from source: Edit the PAM configuration:
sudo nano /etc/pam.d/common-auth
Add this line at the top before the existing auth lines:
auth sufficient pam_usb.so
Your file should look like:
auth sufficient pam_usb.so
auth [success=1 default=ignore] pam_unix.so nullok
auth requisite pam_deny.so
auth required pam_permit.so
Save with Ctrl+X, then Y, then Enter.
Step 7: Test Login
Keep your current terminal open as a safety backup. Open a new terminal and try:
su - yourusername
With your USB plugged in, you should be logged in without a password!
Optional: Enable Two-Factor Authentication
If you want to require BOTH the USB AND a password, change sufficient to required:
sudo nano /etc/pam.d/common-auth
Change:
auth required pam_usb.so
Optional: Auto-Lock Screen When USB is Removed
This requires additional setup with pamusb-agent, which monitors the USB and can trigger screen locking.
Important Safety Notes:
- Always keep a backup terminal open when testing PAM changes
- Don't close all terminals until you've verified login works
- The USB drive doesn't need to stay plugged in after login
- Your password will still work if the USB isn't present (unless you set it to
required)
If you get locked out, boot into recovery mode and restore the backup:
sudo cp /etc/pam.d/common-auth.backup /etc/pam.d/common-auth
Might stick it projects may not - interesting though
#enoughsaid