🚀 Adventure Log: Implementation

I am going on adventures with the minister of home affairs, finance and war
I had this going some time ago, but well things evolve, updated Proxmox server, the release of Debian Trixy and I keep changing how I implement my services - well not sort of - I use docker, I have no need for Kubernetes, as I am not deploying hundreds of systems - the major difference between the two - its scale.
However, I have been under the pump lately, as I am learning new things, and my brain is in overload as I try to keep up.
This I will share
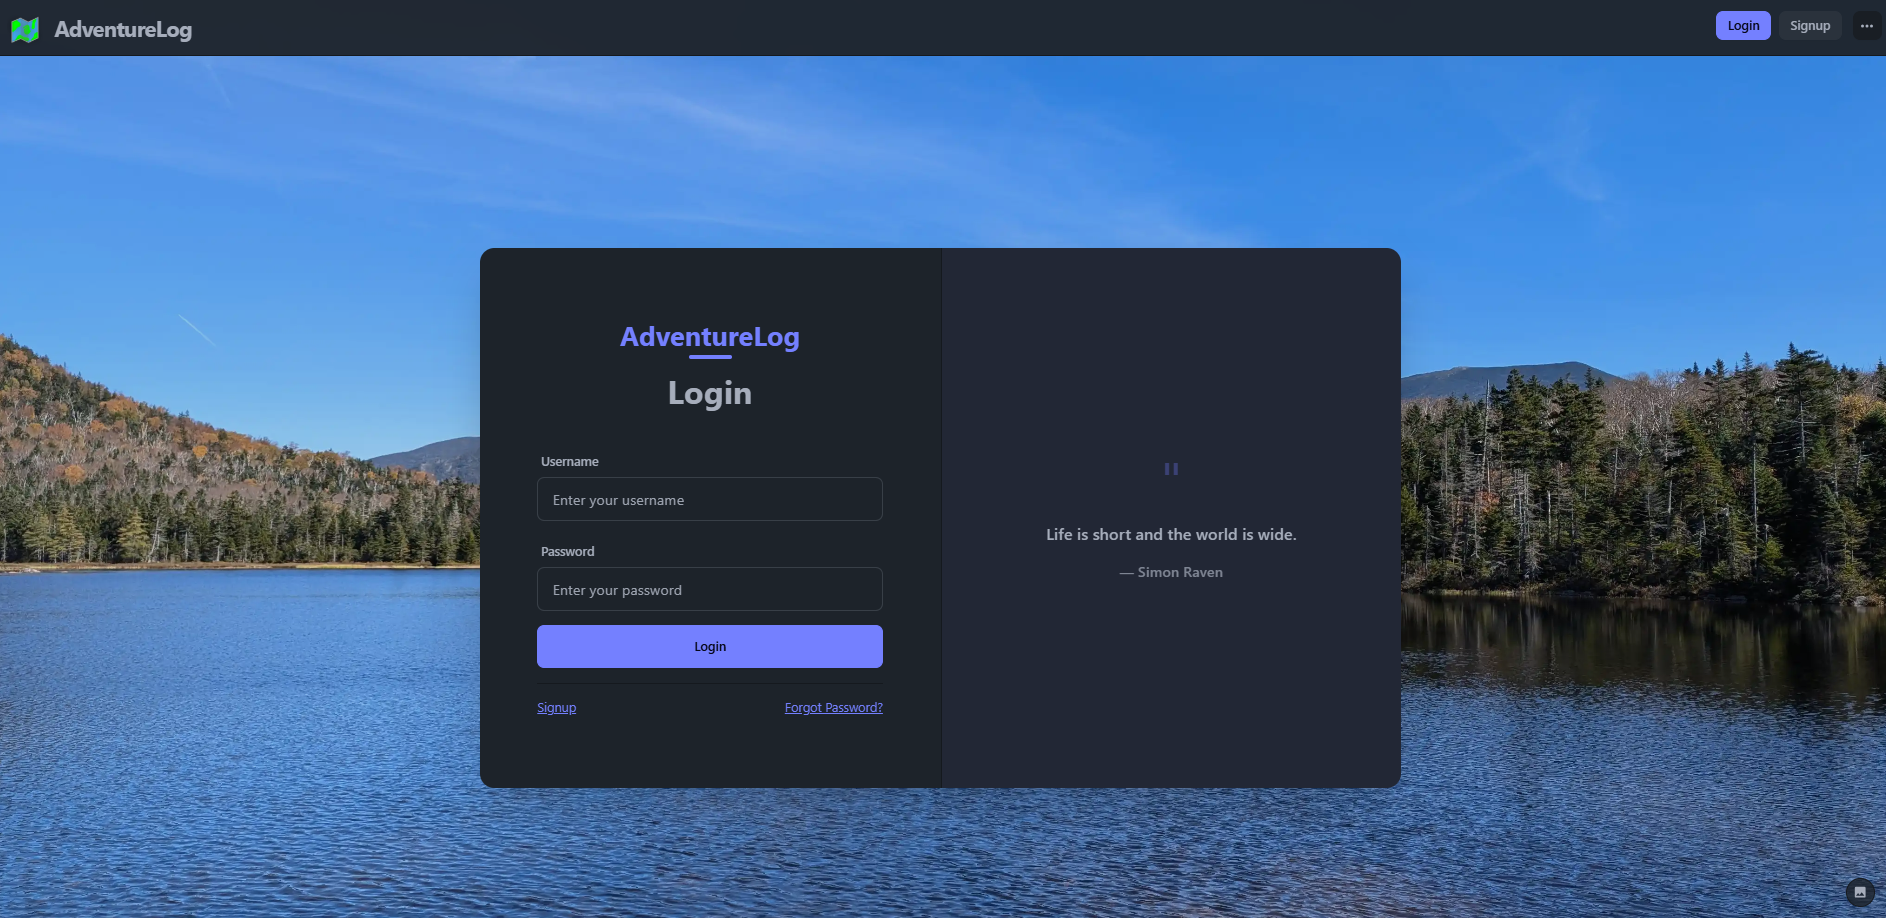
Adventure log is a rather nice little application that you can self-host. I got it going again after a lot of fiddling
AdventureLog is an open‑source platform designed to help you capture, organize, and share your adventures — whether that’s a weekend hike, a cross‑country road trip, or a once‑in‑a‑lifetime expedition. At its core, it combines a clean, map‑driven interface with a robust backend, giving you a personal logbook that’s as structured or as free‑form as you need.
✨ What AdventureLog Can Be Used For
- Travel Journals: Record trips with geotagged entries, photos, and notes.
- Outdoor Activities: Track hikes, climbs, or dives with detailed metadata.
- Family Archives: Build a shared timeline of family events and holidays.
- Professional Use: Document fieldwork, expeditions, or site visits with audit‑ready records.
Because it’s self‑hosted, you keep full control of your data — no third‑party lock‑in, no ads, no hidden algorithms.
🔗 Integration with Immich
One of AdventureLog’s most powerful features is how well it integrates with Immich, the self‑hosted photo and video backup solution. Together, they form a seamless ecosystem:
- Automatic Media Linking: Photos and videos stored in Immich can be surfaced directly inside AdventureLog entries.
- Geotagging Harmony: Immich’s metadata (GPS coordinates, timestamps) enriches AdventureLog’s mapping features, so your adventures are automatically plotted on a map.
- Unified Media Library: Instead of duplicating uploads, AdventureLog references your Immich library — keeping storage efficient and consistent.
- Search & Discovery: Filter adventures by location, date, or media type, leveraging Immich’s indexing.
In practice, this means you can snap photos on your phone, let Immich sync them to your server, and then log into AdventureLog to see those same images ready to be attached to your trip notes.
When we first set out to deploy AdventureLog alongside Immich, it looked deceptively simple: a few containers, a reverse proxy, and some environment variables. In reality, it turned into a crash course in how small misalignments between frontend, backend, and proxy can snowball into hours of head‑scratching.
Here’s what we learned — and what you’ll want to get right the first time.
🛠️ Deployment & Customization
AdventureLog is designed to be container‑friendly, making it easy to deploy alongside Immich in a modern home lab or production environment. With Docker Compose, you can spin up the frontend, backend, and database in minutes.
# Docker Compose configuration for AdventureLog development environment
# This setup includes the frontend, backend, and PostGIS database services.
# Make sure to create a .env file with the necessary environment variables.

# https://github.com/seanmorley15/AdventureLog

services:
  web:
    image: ghcr.io/seanmorley15/adventurelog-frontend:latest
    container_name: vlog-frontend
    hostname: vlog-frontend
    restart: always
    user: root
    labels:
      - com.docker.compose.project=adventurelog
      - com.docker.compose.service=frontend
      - com.centurylinklabs.watchtower.enable=true
      - dockerflare.enable=false
    ports:
      - "${FRONTEND_PORT}:3000"
    depends_on:
      - server
    environment:
      ORIGIN: ${ORIGIN}
      PUBLIC_SERVER_URL: ${PUBLIC_SERVER_URL}
    volumes:
      - /etc/localtime:/etc/localtime:ro
      - /etc/timezone:/etc/timezone:ro
    cap_add:
      - SYS_TIME
    security_opt:
      - no-new-privileges:true
    # Do not add a healthcheck here - the frontend may take a while to start if the backend is not yet available
    networks:
      - adventurelog-net
      - proxy-net

  db:
    image: postgis/postgis:16-3.5
    container_name: vlog-db
    hostname: vlog-db
    restart: always
    user: root
    labels:
      - com.docker.compose.project=adventurelog
      - com.docker.compose.service=database
      - com.centurylinklabs.watchtower.enable=false
      - dockerflare.enable=false
    expose:
      - 5432
    environment:
      POSTGRES_DB: ${POSTGRES_DB}
      POSTGRES_USER: ${POSTGRES_USER}
      POSTGRES_PASSWORD: ${POSTGRES_PASSWORD}
      TZ: "Australia/Perth"
    volumes:
      - postgres_data:/var/lib/postgresql/data/
      - /etc/localtime:/etc/localtime:ro
      - /etc/timezone:/etc/timezone:ro
    cap_add:
      - SYS_TIME
    healthcheck:
      test: ["CMD-SHELL", "pg_isready -U ${POSTGRES_USER} -d ${POSTGRES_DB} -h 127.0.0.1"]
      interval: 10s
      timeout: 5s
      retries: 5
    security_opt:
      - no-new-privileges:true
    networks:
      - adventurelog-net

  server:
    image: ghcr.io/seanmorley15/adventurelog-backend:latest
    container_name: vlog-backend
    hostname: vlog-backend
    restart: always
    user: root
    labels:
      - com.docker.compose.project=adventurelog
      - com.docker.compose.service=backend
      - com.centurylinklabs.watchtower.enable=true
      - dockerflare.enable=false
    ports:
      - "${BACKEND_PORT}:8000"   # backend listens on 8000 internally
    depends_on:
      - db
    environment:
      PGHOST: ${DB_HOST}
      DATABASE_URL: postgres://${POSTGRES_USER}:${POSTGRES_PASSWORD}@${DB_HOST}:5432/${POSTGRES_DB}
      DATABASE_PORT: 5432
      POSTGRES_DB: ${POSTGRES_DB}
      POSTGRES_USER: ${POSTGRES_USER}
      POSTGRES_PASSWORD: ${POSTGRES_PASSWORD}
      TZ: "Australia/Perth"
      SECRET_KEY: ${SECRET_KEY}
      DJANGO_ADMIN_USERNAME: ${DJANGO_ADMIN_USERNAME}
      DJANGO_ADMIN_PASSWORD: ${DJANGO_ADMIN_PASSWORD}
      DJANGO_ADMIN_EMAIL: ${DJANGO_ADMIN_EMAIL}
      GOOGLE_MAPS_API_KEY: ${GOOGLE_MAPS_API_KEY}
      PUBLIC_URL: ${PUBLIC_URL}
      CSRF_TRUSTED_ORIGINS: ${CSRF_TRUSTED_ORIGINS}
      DEBUG: ${DEBUG}
      FRONTEND_URL: ${FRONTEND_URL}
    volumes:
      - adventurelog_media:/code/media/
      - /etc/localtime:/etc/localtime:ro
      - /etc/timezone:/etc/timezone:ro
    cap_add:
      - SYS_TIME
    # Do not add a healthcheck here - the backend may take a while to start if DB migrations are being applied
    security_opt:
      - no-new-privileges:true
    networks:
      - adventurelog-net

volumes:
  postgres_data:
  adventurelog_media:

networks:
  adventurelog-net:
    driver: bridge
    driver_opts:
      com.docker.network.bridge.default_bridge: "false"
      com.docker.network.bridge.enable_icc: "true"
  proxy-net:
    external: true
🔧 The Reverse Proxy Saga
AdventureLog’s frontend and backend don’t talk to each other over localhost like in development. Inside Docker, they communicate over the internal network using service names. That meant our reverse proxy (Nginx Proxy Manager / NPMplus) had to be taught to:
- Forward requests to the frontend (
web:3000) and backend (server:8000) correctly. - Preserve headers like
Host,X-Forwarded-For, andX-Forwarded-Protoso Django could validate requests. - Support WebSockets for the frontend.
- Allow larger request bodies for media uploads.
Without those headers, logins silently failed — the browser would send credentials, Django would reject them, and nothing obvious showed up in the UI.
proxy_set_header Host              $host;
proxy_set_header X-Real-IP         $remote_addr;
proxy_set_header X-Forwarded-For   $proxy_add_x_forwarded_for;
proxy_set_header X-Forwarded-Proto $scheme;

proxy_set_header Upgrade           $http_upgrade;
proxy_set_header Connection        $connection_upgrade;

client_max_body_size               50M;

proxy_connect_timeout              60s;
proxy_send_timeout                 60s;
proxy_read_timeout                 60s;
send_timeout                       60s;

proxy_hide_header X-Powered-By;
add_header X-Frame-Options         SAMEORIGIN;
add_header X-Content-Type-Options  nosniff;
add_header Referrer-Policy         strict-origin-when-cross-origin;
🌐 Wrestling With PUBLIC_URL and Origins
The next stumbling block was environment variables. Out of the box, the .env file pointed to http://localhost:8016 for the backend. That worked in dev, but behind a proxy it broke authentication. Why?
PUBLIC_URLmust be the external URL where the backend is served (e.g.http://vlog.alex.braedach.com).PUBLIC_SERVER_URLmust stay as the internal Docker URL (http://server:8000) so the frontend can reach the backend.ORIGINmust match the exact hostname you type into the browser for the frontend.CSRF_TRUSTED_ORIGINSmust list all domains you’ll ever use (in our case, bothvlog.alex.braedach.comandvlog.braedach.com).
If any of those were wrong, Django’s CSRF protection would block logins — leading to the infamous “I enter my credentials, and nothing happens” problem.
# 🌐 Frontend
FRONTEND_PORT=8015
ORIGIN=http://vlog.alex.braedach.com
PUBLIC_SERVER_URL=http://server:8000

# 🐘 PostgreSQL Database
DB_HOST=db
POSTGRES_DB=makeitlogical
POSTGRES_USER=makeitunique
POSTGRES_PASSWORD=password123notreally

# 🔒 Django Backend
SECRET_KEY=secretkey123alsonotreally
DJANGO_ADMIN_USERNAME=admin
DJANGO_ADMIN_PASSWORD=noitsnot
DJANGO_ADMIN_EMAIL=admin@example.com
BACKEND_PORT=8016
# reallife examples as its behind a firewall
PUBLIC_URL=http://vlog.alex.braedach.com
CSRF_TRUSTED_ORIGINS=http://vlog.alex.braedach.com,http://vlog.braedach.com,http://localhost:8016,http://localhost:8015
DEBUG=True
FRONTEND_URL=http://localhost:8015

# Optional
DISABLE_REGISTRATION=True
DISABLE_REGISTRATION_MESSAGE=Registration is disabled for this instance of AdventureLog.
GOOGLE_MAPS_API_KEY=yourgooglemapsapikey


# If you get locked out - you will need to run the following command
# docker exec -it vlog-backend python manage.py createsuperuser
⚡ The Breakthrough
After tearing the stack down and rebuilding with the corrected .env and proxy config, everything clicked:
- Admin login worked.
- Frontend and backend talked cleanly.
- Health checks passed for the db.
- Immich integration was ready to enrich AdventureLog with geotagged media.
📚 Takeaways
- Reverse proxy headers matter — without them, Django won’t trust requests.
- Separate internal vs external URLs —
PUBLIC_SERVER_URLis for containers,PUBLIC_URLis for bio's. - Always align CSRF origins with your domains — otherwise logins will silently fail.
- Health checks - I removed them for this stack bar the DB. I run another service (yep, another stack - Beszel - that monitors my containers)
Closing Thought
Deploying AdventureLog wasn’t just about spinning up containers — it was about learning how small misconfigurations ripple through a stack. Now that it’s running, it’s a powerful companion to Immich: Immich is the vault of memories, and AdventureLog is the storytelling layer that turns those memories into a living, navigable chronicle.
Life is for living and learning. The more you put in the more you learn.
By the way being a network engineer among other things requires a serious amount of time.
#enoughsaid